What is GameMaker?
GameMaker is a very simple program used to create 2D games faster and easier than other programs. Though it may seem simple and may seem worth it to make games in more advanced programs or languages, many successful games were made using GameMaker, such as “Earthbound” and “Shovel Knight”.

GML or GML Visual
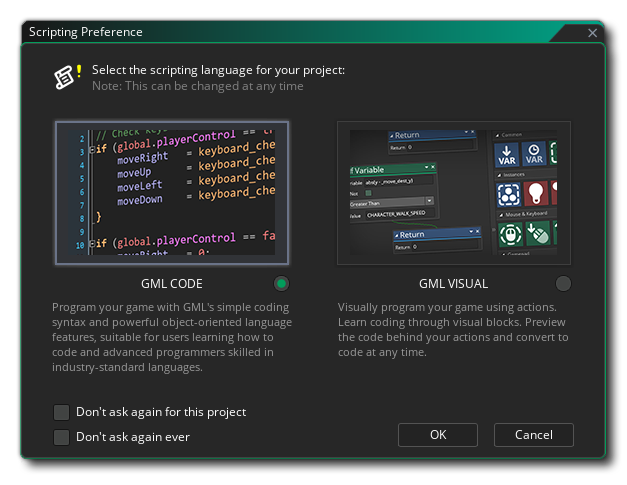
Gamemaker utilizes two different languages: GameMaker Language (GML), and GameMaker Visual (GML Visual). GameMaker Visual is recommended for beginners making smaller, hobbyist projects in GameMaker, while GML is recommended for those with a larger knowledge and past experience in programming. GML is mostly used for bigger projects using more coding aspects rather than drag and drop. Most of the language is pretty self explanatory to those who are familiar with coding syntax, and is very similar in some aspects to popular languages such as “Visual Basic” and “Python”.
Making an RPG in GameMaker Studio 2
For the game I’m making, I followed this tutorial. It is very useful for making RPG games, and is very easy to follow. It is a series of tutorials, covering things such as movement, animations, tiles, cameras, etc.
For my GameMaker Studio 2 project, I decided to make a Mario inspired RPG. I used GML to make the game, but it should work just as well with GML Visual if you are experienced with both. First, I got the sprites set up for characters, enemies, backgrounds, and rooms. I also recommend implementing test sprites to access things more quickly for a fast test. I made sure to add the necessary hitboxes for the sprites. I also made sure to make the necessary folders for everything from sprites to objects.
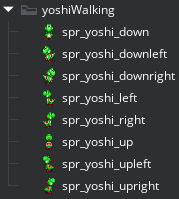
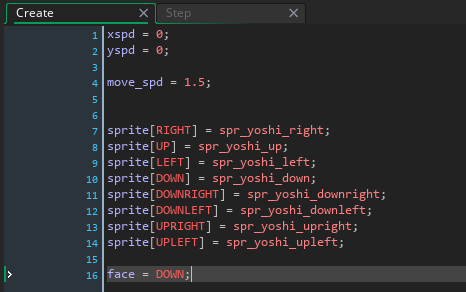
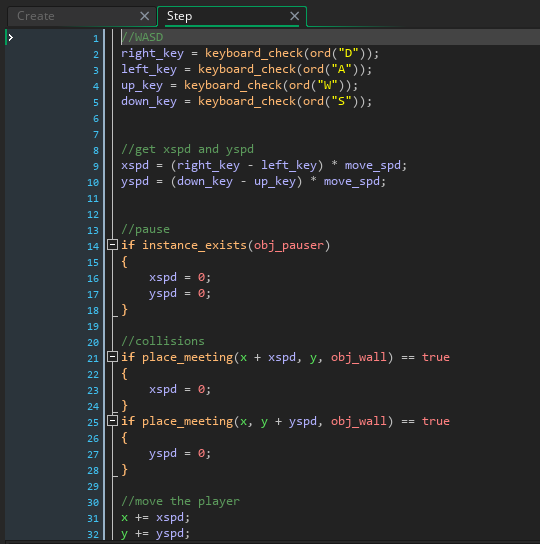
Next, I made one object for the Yoshi sprites. An object is essentially a script that can store things like sprites. I coded the basic movement and collisions to Yoshi, and then added his sprites. With a bit more code, I coded in the animations Yoshi will cycle through when he moves, and when he is idle. I also made a separate script for macros, which will store things like Yoshi’s movements.
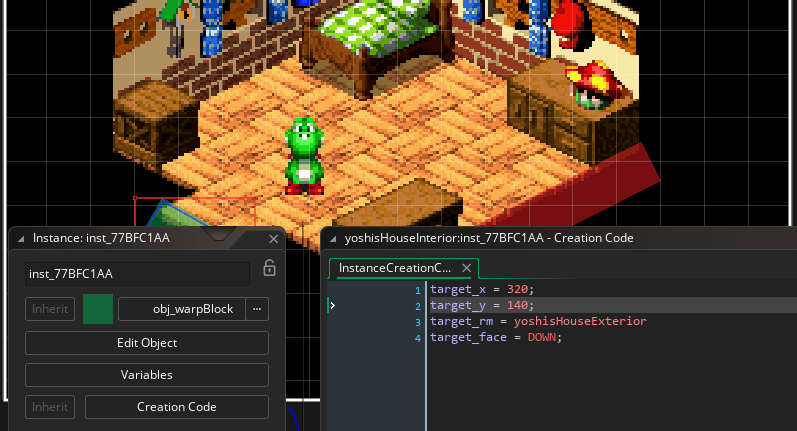
After that, I made a room. A room basically contains all the sprites, objects, scripts, and other components in it and executes it once the program is started. Rooms will execute in a certain order, just like lines of code. In my case, I imported the Yoshi object and converted the sprites into tilesets to make a cohesive background environment. To make it as if Yoshi was hitting a wall, I made a collidable object (which will only be visible during the testing). Next, I made a transition object that will make Yoshi change rooms, and execute a transition animation. The red blocks are the walls, and the green blocks are the warp blocks. For the warp block to work, make sure to go into the “Creation Code”, essentially code that only executes once the program is started, and declare the variables for the warp block.

After you are done with basic movements, collisions, and room transitions, you can move to more complicated things, such as dialogue boxes, battle mechanics, items, menus, and more!