Step 1: Create Your Font with Calligraphr
To get started with creating a custom font, follow this tutorial on Calligraphr. Here, you can design each letter, adjust spacing, and download your unique font in either .ttf or .otf format. Once finished, download your font file to use in your projects.
Step 2: Install the Font on Your System
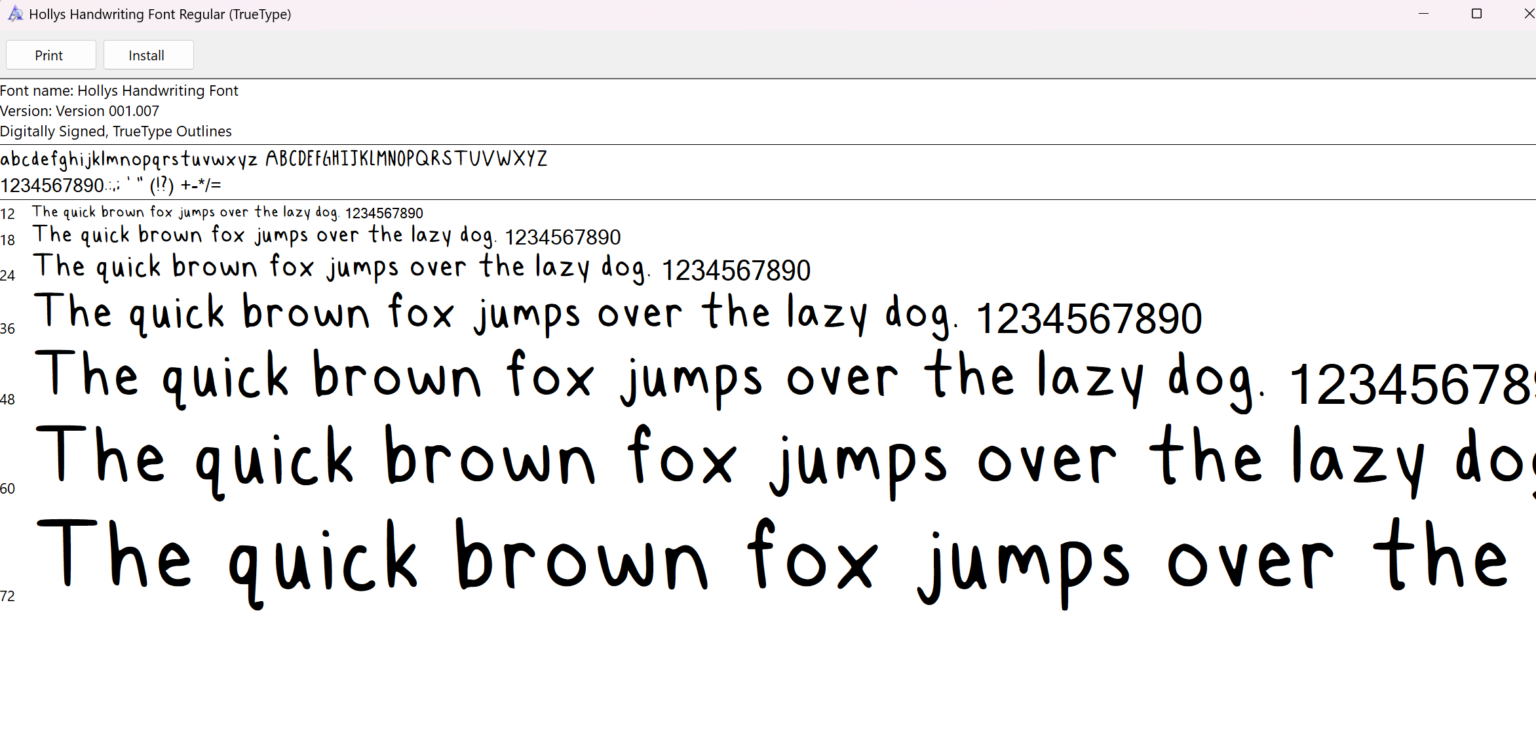
- Locate the downloaded font file (ex:
MyFont.ttf). - Double click the file to open it, and select Install to add it to your system fonts.
Step 3: Use Your Font in Visual Studio Code
- Import Your Font: Add the font to your CSS file in your project. Start by adding an
@font-facerule at the top of your CSS file, pointing to the font file’s location. Here’s an example:
   @font-face {
       font-family: 'MyFont'; /* You can name the font whatever you want*/
       src: url('path/to/MyFont.ttf') format('truetype');
}- Apply the Font: Use the new font throughout your CSS:
   body {
       font-family: 'MyFont', sans-serif;
   }
Step 4: Preview in Visual Studio Code
When you open your HTML file in a live server or browser, you’ll see your custom font app.